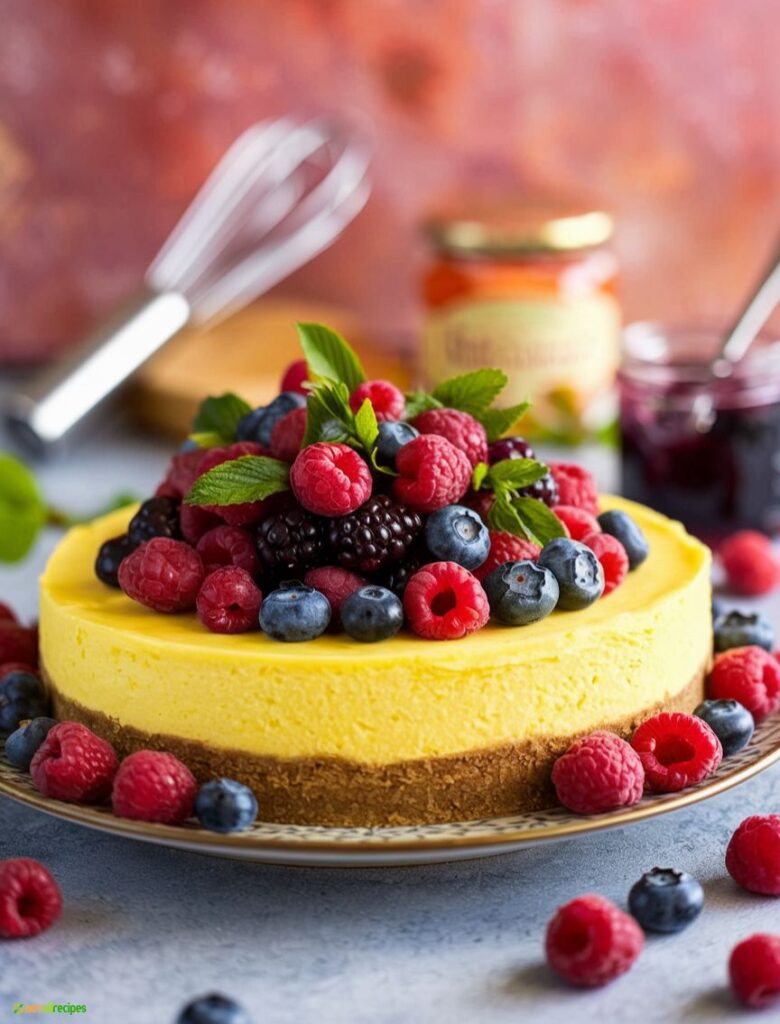
Introduction: Why This Classic Cheesecake is a Must-Make
Cheesecake lovers, rejoice! If you’ve been searching for the creamiest, most decadent classic cheesecake, you’ve found it. This is hands down the best classic cheesecake recipe you’ll ever bake—and after just one bite, you’ll know why. With a rich cream cheese filling, buttery graham cracker crust, and perfectly smooth top, it’s cheesecake perfection. I’ve tested this recipe countless times to ensure you get a no-fail cheesecake that’s ideal for both special occasions and Sunday treats. Ready to dive in? Let’s get baking!
What Makes This Classic Cheesecake Recipe the Best?
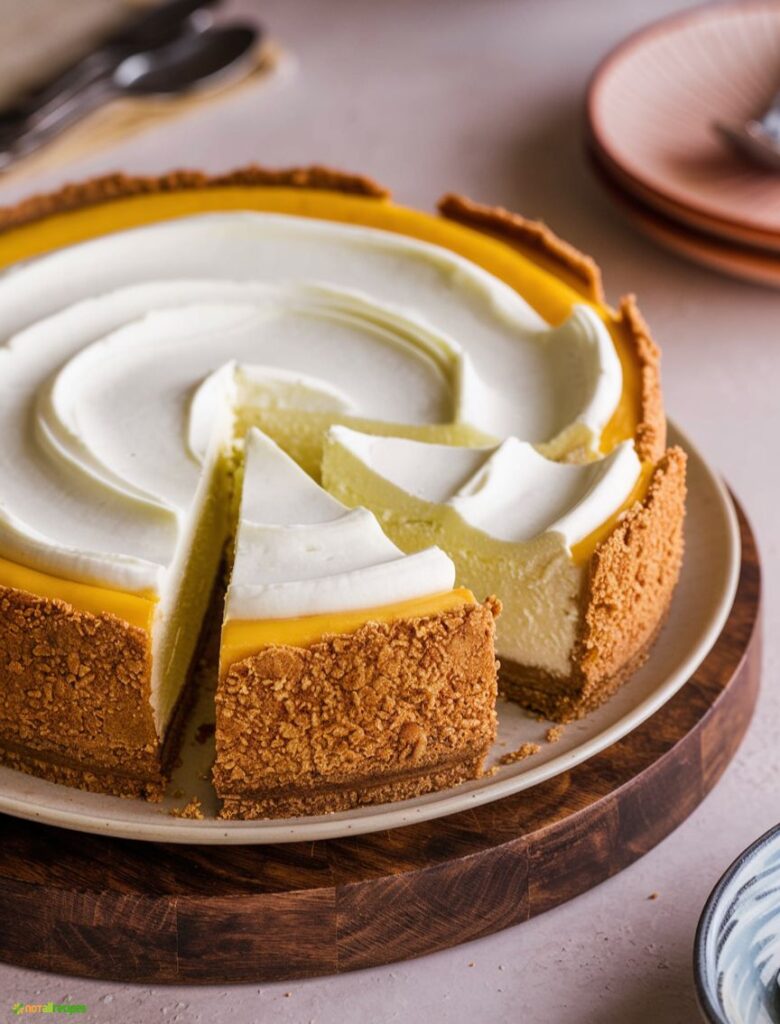
The secret to the perfect cheesecake lies in its texture. This recipe gives you that smooth, creamy center with just the right amount of density. Whether you’re a seasoned cheesecake pro or a first-timer, these steps will make sure your cheesecake comes out flawless every time.
Ingredients You’ll Need for This Best Classic Cheesecake Recipe
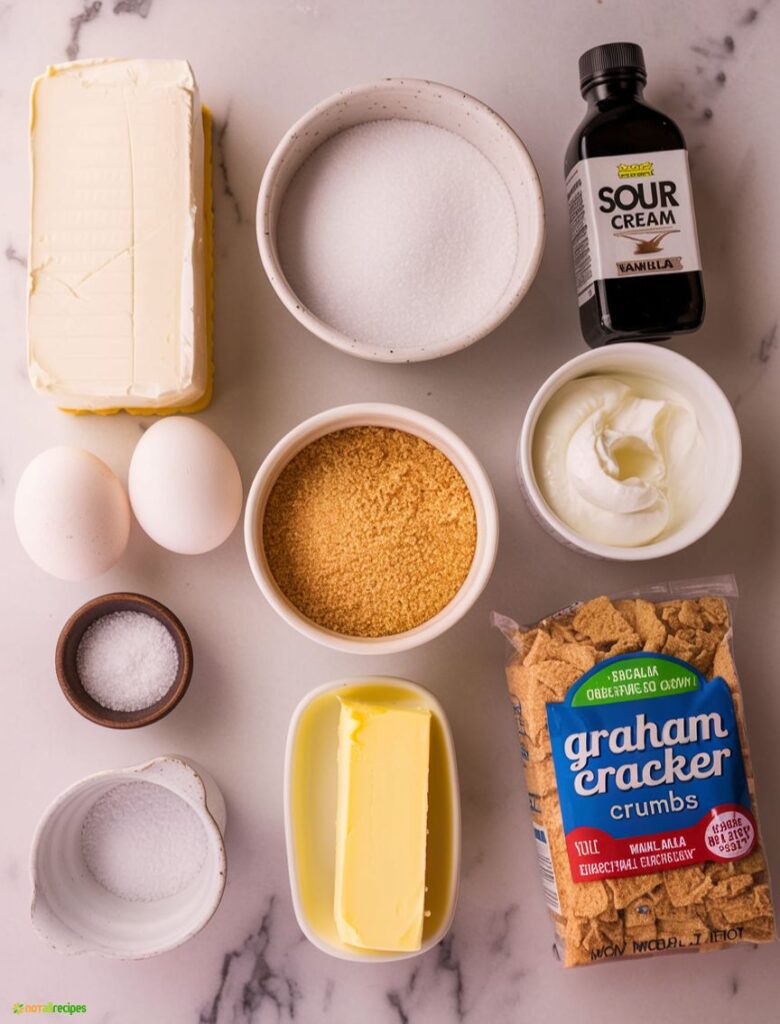
For this classic cheesecake, you don’t need any fancy ingredients, just high-quality staples that come together for a melt-in-your-mouth dessert. Here’s what you’ll need:
- Cream Cheese: Full-fat cream cheese is key here. Trust me, now’s not the time for the low-fat variety! learn more about cream cheese and its uses.
- Sugar: Just enough to sweeten the filling without overpowering the tangy cream cheese.
- Eggs: These help bind the filling and add to the creamy texture.
- Sour Cream: A little tangy, a little rich—it’s what makes this cheesecake extra luscious. No sour cream? Check out these alternatives.
- Vanilla Extract: Go for pure vanilla extract for the best flavor.
- Graham Cracker Crumbs: The base for that buttery, crunchy crust we all love. You can also use gluten-free graham crackers if needed.
Instructions for the Best Classic Cheesecake Recipe:
- Preheat the Oven: Preheat your oven to 325°F (160°C) and prepare a 9-inch springform pan by greasing it lightly.
- Make the Crust:
- In a medium bowl, combine 2 cups of graham cracker crumbs, 2 tablespoons of sugar, and ½ cup of melted butter.
- Press the mixture into the bottom of the prepared springform pan, making sure it’s evenly spread.
- Bake the crust for 10 minutes, then remove it from the oven and let it cool while you make the filling.
- Prepare the Cheesecake Filling:
- In a large mixing bowl, beat 4 blocks (32 oz total) of room temperature cream cheese until smooth.
- Gradually add 1 cup of granulated sugar and 1 teaspoon of vanilla extract, mixing well after each addition.
- Add 4 eggs one at a time, mixing on low speed to avoid overmixing.
- Add 1 cup of sour cream and mix until just combined. The batter should be smooth and creamy.
- Assemble the Cheesecake:
- Pour the cheesecake filling into the cooled crust and smooth the top with a spatula.
- Prepare the Water Bath:
- Wrap the outside of the springform pan with a layer of aluminum foil to prevent leaks.
- Place the pan inside a larger roasting pan and pour about 1 inch of hot water into the roasting pan, creating a water bath.
- Bake the Cheesecake:
- Bake the cheesecake in the water bath for 60–70 minutes, or until the edges are set but the center still jiggles slightly when gently shaken.
- Cool the Cheesecake:
- Turn off the oven and crack the door open slightly, letting the cheesecake cool inside for 1 hour. This helps prevent cracks.
- After 1 hour, remove the cheesecake from the water bath and let it cool completely at room temperature.
- Chill in the Fridge:
- Once cooled, cover the cheesecake with plastic wrap and refrigerate for at least 4 hours or preferably overnight to set completely.
- Serve:
- Before serving, remove the springform pan and transfer the cheesecake to a serving plate.
- Add your favorite toppings like fresh fruit, whipped cream, or chocolate drizzle, then slice and enjoy!
The Perfect Graham Cracker Crust
The graham cracker crust is the foundation of a great cheesecake, so let’s make sure we nail it. Mix crushed graham crackers with melted butter and a touch of sugar, then press it firmly into the bottom of your springform pan. Be sure to press the crust up the sides just a bit for that bakery-style look.
Pro Tip: Bake the crust for about 10 minutes before adding the filling to keep it crisp and prevent sogginess.
Mixing the Cheesecake Filling – Avoid These Mistakes
When making the cheesecake filling, your goal is to avoid overmixing. Overbeating the mixture can lead to cracks during baking. Here’s a tip: Make sure all your ingredients are at room temperature. This ensures a smooth batter and helps everything blend evenly. Learn why room temperature ingredients matter.
How to Prevent Cheesecake Cracks
We’ve all been there—your cheesecake bakes up beautifully, but when you pull it out of the oven, it’s cracked! Don’t worry, I’ve got you covered. To prevent cracks, bake your cheesecake in a water bath. The steam helps regulate the temperature and ensures even baking. If you’re unsure how to set up a water bath, check out this step-by-step guide.
Baking Tips for a Perfect Cheesecake
Cheesecake requires a gentle bake. We’re talking low and slow here—at 325°F (160°C) for about 60–70 minutes. The cheesecake is done when the edges are set, but the center still jiggles slightly. Don’t worry; it will firm up as it cools.
How to Know When Your Cheesecake is Done
Wondering how to check if your cheesecake is ready? Give the pan a gentle jiggle—if the center wobbles like Jell-O but the edges are firm, it’s done. Don’t insert a toothpick or knife, as this can cause cracks. Let the cheesecake cool completely in the oven with the door slightly ajar to avoid drastic temperature changes that could cause cracking.
How to Cool and Chill Your Cheesecake
Once your cheesecake is out of the oven, resist the urge to cut into it immediately! Cheesecake needs to cool and set. First, cool the cheesecake in the oven with the door cracked for 1 hour. Then, transfer it to the refrigerator to chill for at least 4 hours (overnight is even better). This allows the flavors to meld and the texture to firm up perfectly.
How to Remove a Cheesecake from a Springform Pan
Here’s a little trick to avoid disaster: Run a knife around the edge of the cheesecake as soon as it’s out of the oven. This helps loosen the sides and prevents the cheesecake from sticking to the pan. When ready to serve, simply release the latch on your springform pan and carefully lift the sides away.
Serving Suggestions for this Best Classic Cheesecake Recipe
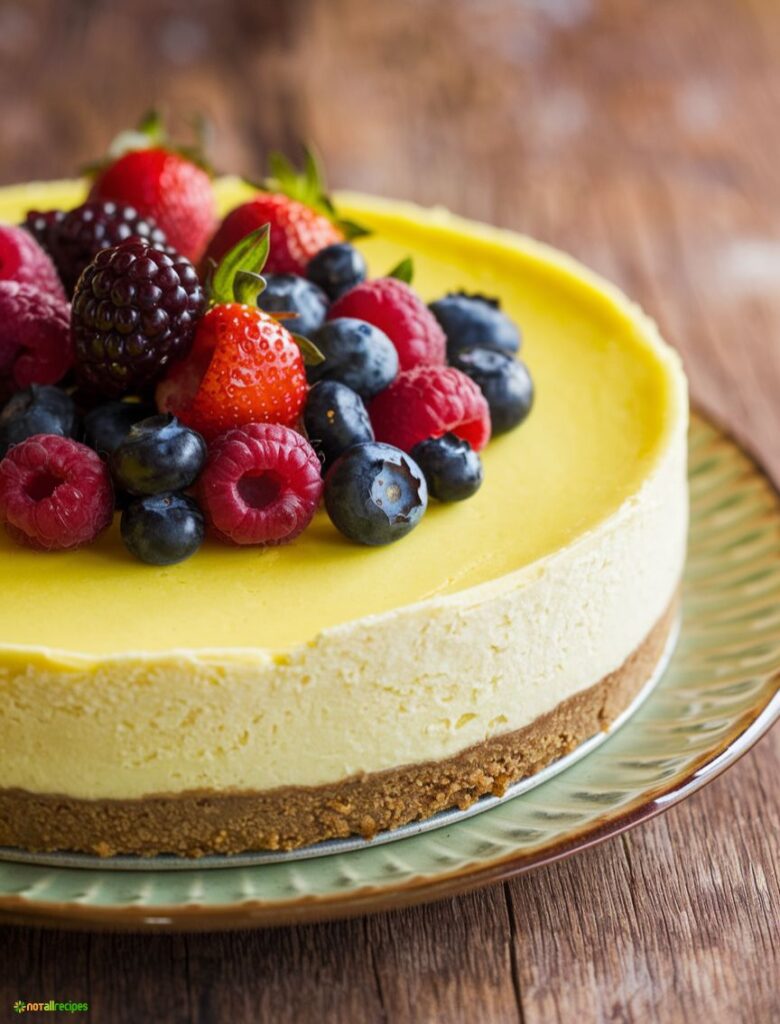
This classic cheesecake is delicious on its own, but it’s also a great base for adding toppings. Here are a few ideas:
- Fresh Berries: Strawberries, raspberries, or blueberries add a pop of color and freshness.
- Chocolate Ganache: For chocolate lovers, drizzle some easy chocolate ganache over the top.
- Salted Caramel Sauce: A little salty, a little sweet—try it with homemade caramel sauce.
How to Store Your Cheesecake
Cheesecake stores beautifully in the fridge for up to 5 days. Simply wrap it tightly with plastic wrap or store it in an airtight container. If you want to freeze it, wrap the cheesecake in a layer of plastic wrap followed by a layer of aluminum foil. It’ll keep in the freezer for up to 3 months! Learn how to freeze cheesecake properly.
Can You Make Cheesecake Ahead of Time?
Absolutely! Cheesecake is one of those desserts that actually gets better with time, making it ideal for making ahead. Bake it a day or two in advance and store it in the fridge until you’re ready to serve. Need to transport it? Here are some tips on how to safely transport cheesecakes.
Variations: Customize Your Best Classic Cheesecake Recipe
This recipe is a fantastic base for all kinds of flavor combinations. Here are a few fun ways to mix things up:
- Lemon Cheesecake: Add a tablespoon of fresh lemon zest and juice to the filling for a bright, citrusy twist.
- Chocolate Swirl Cheesecake: Melt a little dark chocolate and swirl it into the batter before baking.
- Pumpkin Cheesecake: Blend in some pumpkin puree and warm spices like cinnamon and nutmeg for a fall-inspired treat.
Tools You’ll Need to Make the Perfect Cheesecake
Here’s what you’ll need to make this classic cheesecake:
- Springform Pan: A must for easy removal and perfect presentation.
- Mixing Bowls: Large enough for mixing the filling without making a mess.
- Electric Mixer: For a smooth, lump-free cream cheese filling.
- Roasting Pan: To create a water bath for even baking.
Frequently Asked Questions About Classic Cheesecake
1. Why Did My Cheesecake Crack?
Cracks in a cheesecake are usually the result of either overbaking or skipping the water bath. Cheesecakes bake slowly and require a moist environment to prevent cracking. The water bath, or bain-marie, provides the steam needed to ensure even baking and avoid drastic temperature changes. When the cheesecake is overbaked, it can shrink too quickly and crack. To prevent cracking, make sure to bake your cheesecake just until the center is slightly jiggly. Also, don’t skip the water bath. Another trick is to turn off the oven once the cheesecake is done and leave the cheesecake inside with the door slightly ajar for about an hour to cool slowly. If your cheesecake does crack, don’t panic. You can cover it up with whipped cream, fresh fruit, or a decadent sauce like caramel or chocolate.
2. How Long Does Cheesecake Last?
Cheesecake can last up to 5 days in the refrigerator if stored properly. Just make sure to wrap it tightly in plastic wrap or store it in an airtight container to keep it fresh. If you want to extend its shelf life, cheesecake freezes really well! Wrap it in a layer of plastic wrap and aluminum foil, and it can stay fresh in the freezer for up to 3 months. When you’re ready to eat, thaw it in the fridge overnight.
3. Can I Use a Different Type of Crust?
Absolutely! While the classic graham cracker crust is a favorite, you can switch it up based on your preferences. For a gluten-free version, try almond flour crust. You can also use crushed Oreos for a chocolate twist or even a gingersnap crust for a spicy, flavorful base. Just be sure to bake the crust before adding the cheesecake filling to keep it from getting soggy.
4. Do I Have to Use a Water Bath?
A water bath isn’t strictly necessary, but it’s highly recommended to get that smooth, crack-free top. The steam created by the water bath keeps the cheesecake moist and helps it bake evenly. If you don’t have a roasting pan large enough for a water bath, you can place a pan of hot water on the rack beneath your cheesecake to achieve similar results.
5. Can I Make This Cheesecake Dairy-Free?
Yes, you can make a dairy-free version of this cheesecake! Look for dairy-free cream cheese alternatives and use coconut cream in place of sour cream. There are several vegan-friendly options on the market that perform well in baked cheesecakes. Keep in mind that the texture might differ slightly, but the flavor will still be delicious.
Conclusion
There you have it—the ultimate recipe for the best classic cheesecake! If you try this recipe, be sure to let me know how it turned out in the comments. Don’t forget to pin it and tag @notallrecipes on Instagram to share your results. Happy baking!
Recap Of The Recipe
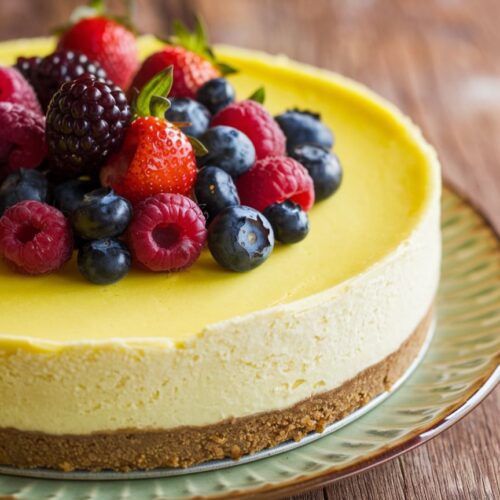
The Best Classic Cheesecake Recipe (Perfect Creamy Slice Every Time)
Equipment
- Springform Pan A must for easy removal and perfect presentation.
- Mixing Bowls Large enough for mixing the filling without making a mess.
- Electric Mixer For smooth, lump-free cream cheese filling.
- Roasting Pan To create a water bath for even baking.
Ingredients
- Cream Cheese – Full-fat cream cheese is key here. Trust me now’s not the time for the low-fat variety!
- Sugar – Just enough to sweeten the filling without overpowering the tangy cream cheese.
- Eggs – These help bind the filling and add to the creamy texture.
- Sour Cream – A little tangy a little rich—it’s what makes this cheesecake extra luscious. No sour cream? Check out these alternatives.
- Vanilla Extract – Go for pure vanilla extract for the best flavor.
- Graham Cracker Crumbs – The base for that buttery crunchy crust we all love. You can also use gluten-free graham crackers if needed.
Instructions
- Preheat the Oven: Preheat your oven to 325°F (160°C) and prepare a 9-inch springform pan by greasing it lightly.
- Make the Crust:
- In a medium bowl, combine 2 cups of graham cracker crumbs, 2 tablespoons of sugar, and ½ cup of melted butter.
- Press the mixture into the bottom of the prepared springform pan, making sure it’s evenly spread.
- Bake the crust for 10 minutes, then remove it from the oven and let it cool while you make the filling.
- Prepare the Cheesecake Filling:
- In a large mixing bowl, beat 4 blocks (32 oz total) of room temperature cream cheese until smooth.
- Gradually add 1 cup of granulated sugar and 1 teaspoon of vanilla extract, mixing well after each addition.
- Add 4 eggs one at a time, mixing on low speed to avoid overmixing.
- Add 1 cup of sour cream and mix until just combined. The batter should be smooth and creamy.
- Assemble the Cheesecake:
- Pour the cheesecake filling into the cooled crust and smooth the top with a spatula.
- Prepare the Water Bath:
- Wrap the outside of the springform pan with a layer of aluminum foil to prevent leaks.
- Place the pan inside a larger roasting pan and pour about 1 inch of hot water into the roasting pan, creating a water bath.
- Bake the Cheesecake:
- Bake the cheesecake in the water bath for 60–70 minutes, or until the edges are set but the center still jiggles slightly when gently shaken.
- Cool the Cheesecake:
- Turn off the oven and crack the door open slightly, letting the cheesecake cool inside for 1 hour. This helps prevent cracks.
- After 1 hour, remove the cheesecake from the water bath and let it cool completely at room temperature.
- Chill in the Fridge:
- Once cooled, cover the cheesecake with plastic wrap and refrigerate for at least 4 hours or preferably overnight to set completely.
- Serve:
- Before serving, remove the springform pan and transfer the cheesecake to a serving plate.
- Add your favorite toppings like fresh fruit, whipped cream, or chocolate drizzle, then slice and enjoy!
Notes
- Room Temperature Ingredients: For the best texture, make sure all your ingredients, especially the cream cheese and eggs, are at room temperature. This helps them blend together smoothly and reduces the risk of lumps.
- Baking Time Variations: Oven temperatures can vary, so start checking your cheesecake for doneness at the 60-minute mark. The edges should be set, but the center should still have a slight jiggle.
- Water Bath Importance: Baking your cheesecake in a water bath (bain-marie) is crucial for achieving a creamy texture and preventing cracks. It creates a gentle, humid environment that promotes even cooking.
- Chilling Time: Allowing your cheesecake to chill overnight enhances the flavors and improves the texture. If you’re short on time, let it cool in the refrigerator for at least 4 hours.
- Serving Suggestions: This cheesecake pairs beautifully with a variety of toppings. Consider serving it with fresh berries, chocolate ganache, or a drizzle of caramel sauce for added flavor.
- Storage Instructions: Store any leftover cheesecake tightly wrapped in plastic wrap or in an airtight container in the refrigerator for up to 5 days. For longer storage, freeze it for up to 3 months.
- Substitutions: If you’re looking to customize the flavor, you can add lemon zest for a citrus twist, melted chocolate for a rich chocolate cheesecake, or even pumpkin puree for a seasonal variation.

