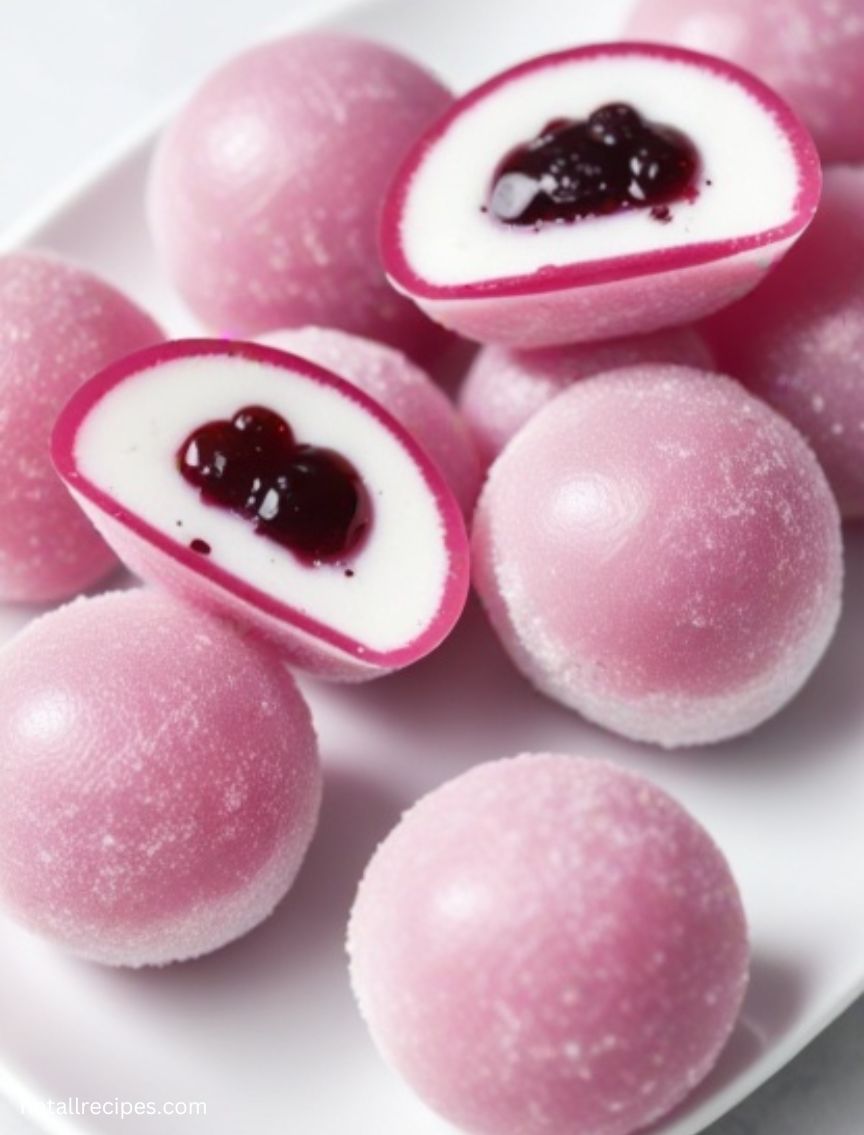
Chocolate Mochi Ice Cream Recipe: Chewy, Creamy, and Totally Irresistible!
Hi, I’m Hayat from NotAllRecipes.com, and if you’re anything like me, you’ve got a soft spot for those perfectly chewy, delicious little balls of happiness known as mochi ice cream. But why stick with the same old store-bought flavors when you can make your own at home—chocolate flavored, no less! Trust me, once you try making your own Chocolate Mochi Ice Cream, you’ll never look back.
If you’re ready for a dessert that’s fun to make and even more fun to eat, you’re in the right place. Let’s dive into this recipe, loaded with rich chocolate ice cream wrapped in a soft, sweet mochi dough. Your tastebuds are going to thank you!
What is Chocolate Mochi Ice Cream?
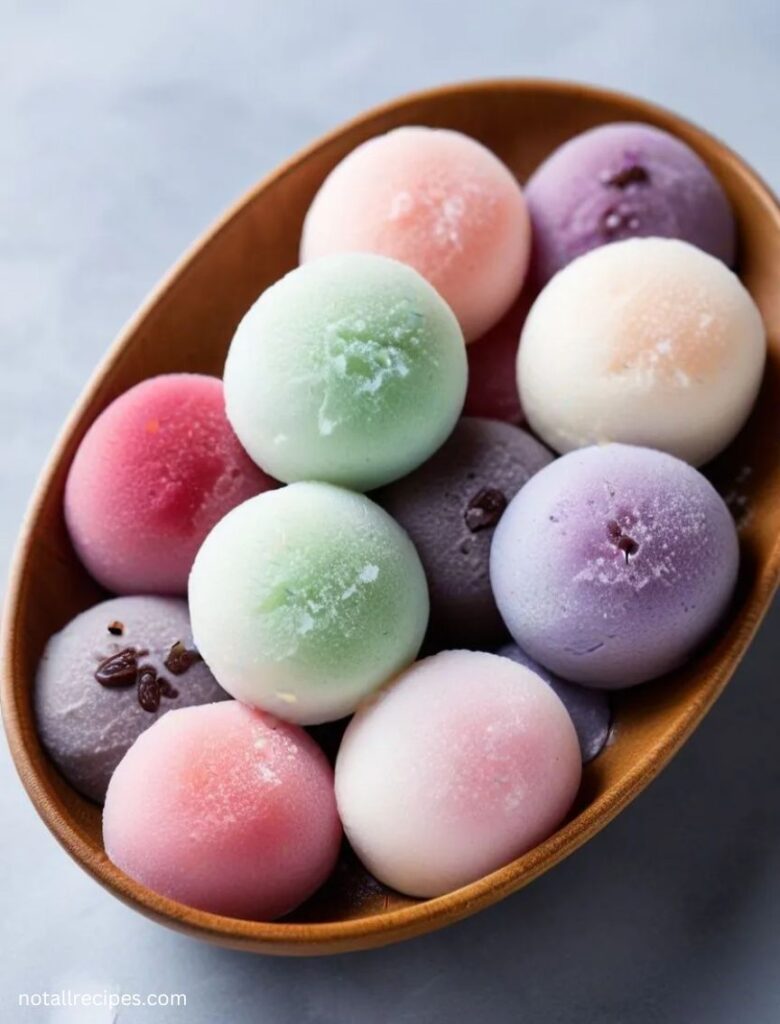
Before we get started, let’s talk a little about what makes mochi ice cream so special. Mochi is a traditional Japanese dessert made from glutinous rice flour, giving it that chewy, stretchy texture we all love. Combine that with creamy chocolate ice cream in the center, and you’ve got a dessert that’s the perfect balance of chewy and creamy.
But here’s the thing: Chocolate Mochi Ice Cream is so much more than just a novelty treat. The flavor pairing of decadent chocolate and soft, pillowy mochi is divine, making it the ultimate indulgence. And if you’re on a mission to impress friends at your next dinner party or simply spoil yourself (because you deserve it), this recipe will do the trick!
Want to explore more chewy mochi desserts? Try my Chewy Mochi Brownies for a fun twist on brownies!
Why You’ll Love This Recipe
I know you’re going to fall head over heels for this recipe—and here’s why:
- Easy and fun: While it may sound tricky, making mochi ice cream is surprisingly simple once you get the hang of it.
- Unique texture: The contrast between chewy mochi and creamy ice cream is one of life’s small pleasures.
- Gluten-free: Yup, you read that right. Mochi is made with glutinous rice flour, which is naturally gluten-free.
- Impressive dessert: Want to wow your guests? Serve this, and they’ll be begging for the recipe!
And for even more mochi goodness, check out The Best Mochi Donuts Recipe—they’re light, fluffy, and super delicious!
Ingredients You’ll Need
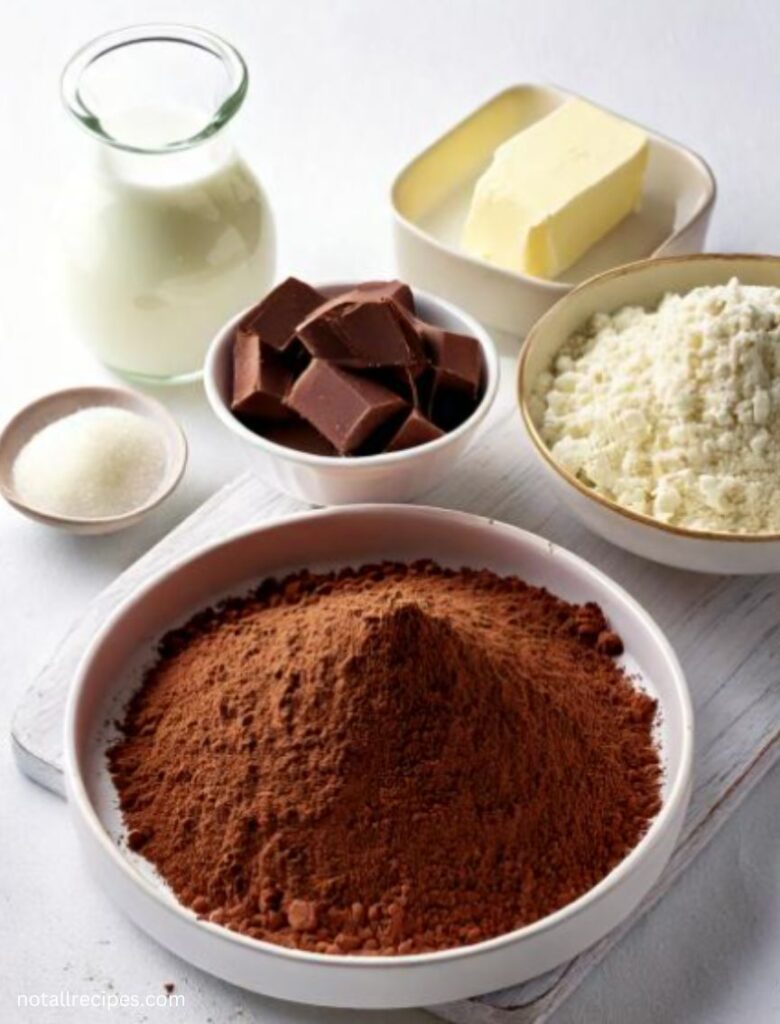
Let’s keep things simple. You won’t need any fancy ingredients to make this dessert, just a handful of basic staples:
- Glutinous rice flour (also known as sweet rice flour) – This is what gives mochi its chewy texture.
- Cornstarch or potato starch – For dusting, so your dough doesn’t stick to everything.
- Sugar – To sweeten the mochi dough.
- Water – To help form the dough.
- Cocoa powder – For that rich chocolatey flavor in the mochi layer.
- Chocolate ice cream – Use your favorite brand, or go homemade if you’re feeling ambitious!
Note: Glutinous rice flour is different from regular rice flour—make sure you grab the right one! If you’re not sure, check out this helpful glutinous rice flour guide.
Tools You’ll Need
To make the perfect Chocolate Mochi Ice Cream, you don’t need a lot of fancy kitchen gadgets. Here’s a quick list of the tools that’ll come in handy:
- A microwave-safe bowl for making the mochi dough.
- A rolling pin to help flatten the dough.
- Plastic wrap or parchment paper for working with the dough.
- A baking sheet for freezing your mochi.
- A small cookie scoop or tablespoon to portion out the ice cream.
With these basic tools, you’ll be on your way to mochi perfection!
How to Make Chocolate Mochi Ice Cream (Step-by-Step Guide)
Let’s get to the good stuff—making your own Chocolate Mochi Ice Cream! I’m breaking this down into easy, manageable steps so even if you’ve never made mochi before, you’ll feel like a pro by the end.
Step 1: Prep the Ice Cream
Start by scooping small balls of chocolate ice cream (about 1 tablespoon each) and placing them on a baking sheet lined with parchment paper. Freeze them for at least 30 minutes, or until they’re firm.
Tip: If the ice cream starts to melt, pop it back in the freezer for a few more minutes. You want these to be solid when you wrap them with mochi.
Step 2: Make the Mochi Dough
In a microwave-safe bowl, mix together:
- ¾ cup glutinous rice flour,
- ¼ cup sugar,
- 1 tablespoon cocoa powder,
- and ¾ cup of water.
Stir until smooth, then cover the bowl loosely with plastic wrap. Microwave the mixture for 1 minute, stir, and repeat this process 2 more times until the dough is sticky and slightly translucent.
Pro Tip: Use a damp spatula to stir the mochi dough—it makes the sticky dough easier to handle!
Step 3: Shape the Dough
Dust a clean surface with cornstarch or potato starch, then turn your mochi dough onto the surface. Dust the top of the dough with more starch and roll it out until it’s about ¼ inch thick.
Pro Tip: Keep the rolling pin dusted with starch to avoid the dough sticking!
Step 4: Cut the Dough into Circles
Use a round cookie cutter (or a drinking glass) to cut the dough into circles, about 3-4 inches in diameter. Each circle will wrap around a scoop of ice cream.
Step 5: Wrap the Ice Cream
Working quickly, take one of your pre-frozen ice cream scoops and place it in the center of a mochi circle. Gently fold the mochi around the ice cream, pinching the edges together to seal.
Step 6: Freeze Again
Place your mochi ice cream seam-side down on the baking sheet and freeze for at least 1 hour before serving.
And that’s it! You’ve just made your own Chocolate Mochi Ice Cream—pretty easy, right?
Tips for Perfect Mochi Dough
Here are a few quick tips to make sure your mochi dough turns out perfectly:
- Don’t skip the starch! Dusting with cornstarch or potato starch is essential for keeping the mochi from sticking to your hands and tools.
- Microwave in short intervals: The dough will need to be cooked in stages to ensure an even texture. Be patient and stir frequently!
- Work quickly: Once you’ve made your dough, you need to work quickly while it’s still pliable.
For more tips on handling mochi dough, check out this guide to perfect mochi dough.
Can I Make Chocolate Mochi Ice Cream in Advance?
Absolutely! In fact, making mochi ice cream in advance is a great idea. You can prep and freeze the mochi ice cream balls for up to 2 weeks. When you’re ready to serve, just let them sit at room temperature for a few minutes to soften.
If you love make-ahead desserts, you’ll love my Best Matcha Butter Mochi Recipe—easy and perfect for planning ahead!
How to Store Chocolate Mochi Ice Cream
Storage is key to keeping your mochi ice cream fresh. Once wrapped and frozen, store them in an airtight container in the freezer. This will keep them fresh for up to 2 weeks, though I doubt they’ll last that long! Just be sure to let them thaw for about 5 minutes before eating so the mochi softens up nicely.
FAQs: Your Mochi Troubleshooting Guide
1. Can I use regular rice flour? Nope, it has to be glutinous rice flour. Regular rice flour won’t give you that chewy mochi texture.
2. My mochi is too sticky—what should I do? Make sure you’re dusting your dough with plenty of cornstarch or potato starch while working with it.
3. Can I use a different ice cream flavor? Absolutely! This recipe is super versatile. You can try it with matcha, strawberry, or even vanilla ice cream.
Variations & Flavor Ideas
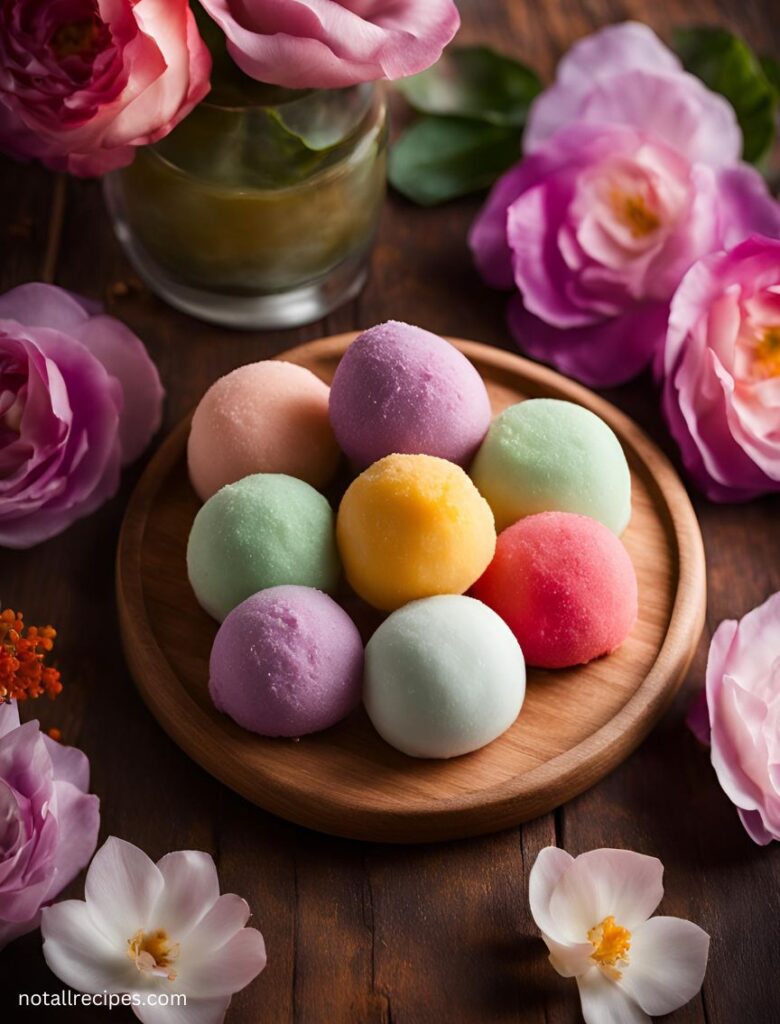
Don’t be afraid to get creative with this recipe! While chocolate mochi ice cream is a classic, here are some other flavor combos to try:
- Matcha Mochi Ice Cream: Replace the cocoa powder in the dough with matcha powder.
- Strawberry Mochi Ice Cream: Swap chocolate ice cream for strawberry and add freeze-dried strawberry powder to the dough.
- Vanilla Mochi Ice Cream: Keep it classic with vanilla ice cream and plain mochi dough.
For more variation inspiration, check out the Best Hawaiian Butter Mochi Recipe—a tropical spin on traditional mochi!
Estimated Nutrition
Here’s a quick snapshot of the nutrition breakdown per mochi ice cream ball:
- Calories: 110
- Fat: 4g
- Protein: 2g
- Carbs: 25g
For a more detailed look at the nutrition of different types of mochi desserts, check out this nutrition resource.
I hope you enjoyed this Chocolate Mochi Ice Cream recipe! Give it a try, and let me know how it turns out by dropping a comment or tagging me, @notallrecipes, on social media. Don’t forget to explore more fun mochi recipes like the Best Mochi Donuts Recipe or Chewy Mochi Brownies.
Enjoy every bite, and happy mochi-making!
Recap Of The Recipe
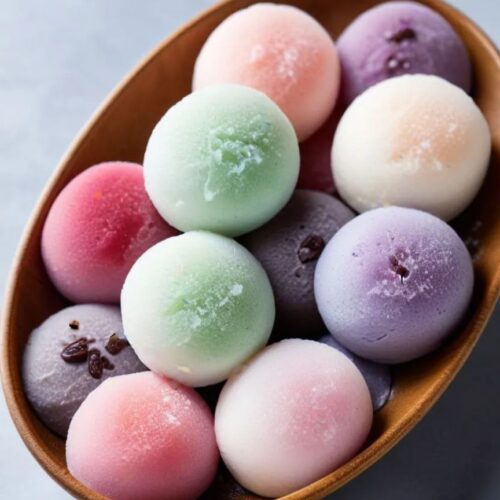
Chocolate Mochi Ice Cream
Equipment
- Measuring cups and spoons: For accurate ingredient measurements.
- Large microwave-safe bowl: To prepare and heat the mochi dough.
- Hand whisk: For mixing the ingredients smoothly.
- Parchment paper: To line the baking sheet and prevent sticking.
- 8×8-inch baking dish: For chilling the mochi dough.
- Small freezer-safe baking tray: To hold the ice cream balls during freezing.
- Cling wrap (plastic wrap): To handle and shape the mochi balls.
- Rolling pin: For flattening the mochi dough squares.
- Silicone spatula: To mix and spread the dough evenly.
- Cornstarch: For dusting to avoid stickiness while shaping the mochi.
Ingredients
- Glutinous rice flour
- Cornstarch or potato starch
- Sugar
- Water
- Cocoa powder
- Chocolate ice cream
Instructions
- Step 1: Prep the Ice Cream
- Start by scooping small balls of chocolate ice cream (about 1 tablespoon each) and placing them on a baking sheet lined with parchment paper. Freeze them for at least 30 minutes, or until they’re firm.
- Tip: If the ice cream starts to melt, pop it back in the freezer for a few more minutes. You want these to be solid when you wrap them with mochi.
- Step 2: Make the Mochi Dough
- In a microwave-safe bowl, mix together:
- ¾ cup glutinous rice flour,
- ¼ cup sugar,
- 1 tablespoon cocoa powder,
- and ¾ cup of water.
- Stir until smooth, then cover the bowl loosely with plastic wrap. Microwave the mixture for 1 minute, stir, and repeat this process 2 more times until the dough is sticky and slightly translucent.
- Pro Tip: Use a damp spatula to stir the mochi dough—it makes the sticky dough easier to handle!
- Step 3: Shape the Dough
- Dust a clean surface with cornstarch or potato starch, then turn your mochi dough onto the surface. Dust the top of the dough with more starch and roll it out until it’s about ¼ inch thick.
- Pro Tip: Keep the rolling pin dusted with starch to avoid the dough sticking!
- Step 4: Cut the Dough into Circles
- Use a round cookie cutter (or a drinking glass) to cut the dough into circles, about 3-4 inches in diameter. Each circle will wrap around a scoop of ice cream.
- Step 5: Wrap the Ice Cream
- Working quickly, take one of your pre-frozen ice cream scoops and place it in the center of a mochi circle. Gently fold the mochi around the ice cream, pinching the edges together to seal.
- Step 6: Freeze Again
- Place your mochi ice cream seam-side down on the baking sheet and freeze for at least 1 hour before serving.
Notes
- Ingredient Quality: Use high-quality chocolate ice cream for the best flavor. Homemade chocolate ice cream can also be used for a fresher taste.
- Mochiko Flour: Ensure you use glutinous rice flour (Mochiko) for the mochi texture. Other types of flour will not yield the same chewy consistency.
- Cooking Time: Microwaves vary in power. If the mochi mixture is too runny, continue microwaving in 30-second intervals until it reaches a soft but cohesive texture.
- Handling the Dough: Keep the mochi dough cold while working with it to prevent stickiness. Dust generously with cornstarch and use plastic wrap to shape and wrap the mochi.
- Flavor Variations: Feel free to experiment with different ice cream flavors, such as matcha, strawberry, or vanilla, to create unique mochi ice cream combinations.
- Storage: Store assembled mochi ice cream tightly wrapped in plastic wrap in the freezer. They can last up to two months, but for the best quality, consume them within a month.
- Serving: Allow the mochi ice cream to sit at room temperature for about 5 minutes before eating to soften slightly for easier chewing.
- Presentation: For an eye-catching presentation, serve the mochi ice cream on a decorative plate and dust with a little extra cornstarch or cocoa powder.
