Hey, dessert detectives! Are you on the hunt for something unique, delightful, and, dare we say, gorgeous? Buckle up, because we’re about to unveil the secrets behind Hawaiian Butter Mochi—a treat that’s as addictive as it is easy to make!
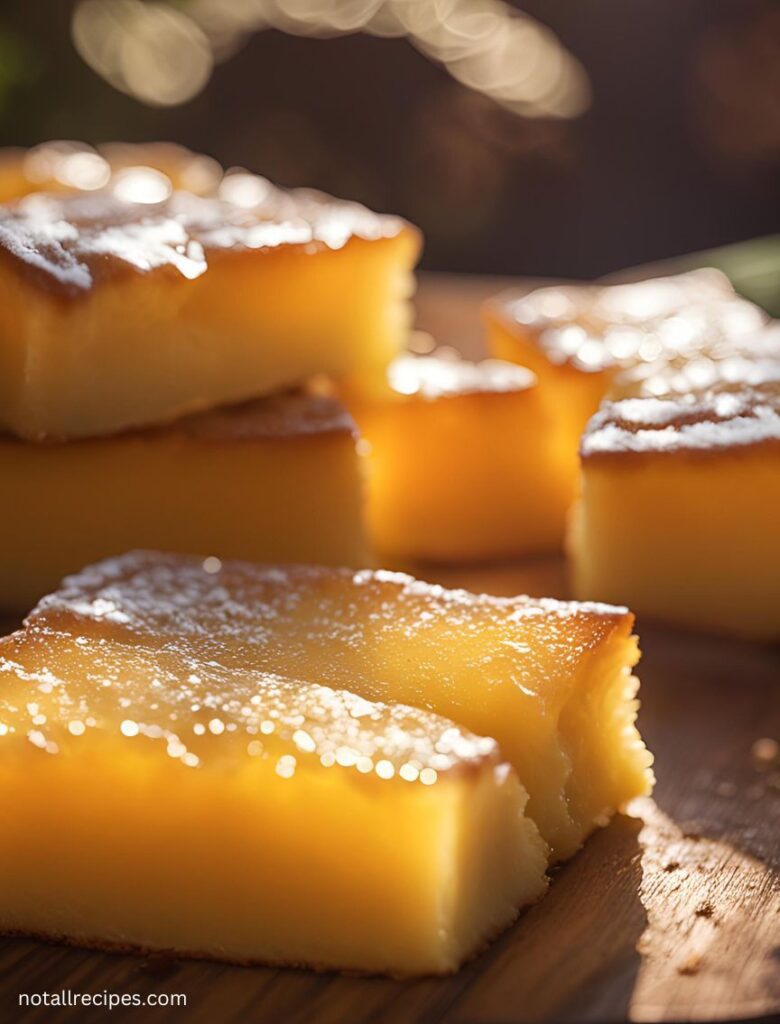
This isn’t your average cake, folks. Hawaiian Butter Mochi is a delightful fusion, a love child between a classic cake and that oh-so-chewy Japanese mochi we all know and love. It boasts a subtle sweetness, rich buttery flavor, and a unique texture that’s both satisfyingly chewy and melt-in-your-mouth delightful.
Intrigued? We knew you would be! This recipe is perfect for anyone who wants to impress friends and family with a dessert that’s both visually stunning and ridiculously delicious. Plus, it’s surprisingly easy to make, even for baking newbies. Nervous about lumps? We’ve got you covered! We’ll share some pro tips to ensure a smooth and delightful batter.
What is Hawaiian Butter Mochi?

Imagine a cake, but instead of fluffy wheat flour, it’s made with mochiko flour (sweet rice flour), giving it that signature chewy texture. It’s like the chewy goodness of mochi ice cream, but baked into a delightful cake-like form. Unlike its Japanese counterpart, Hawaiian Butter Mochi is a bit less sticky and boasts a richer, buttery flavor.
Feeling adventurous? Check out our Matcha Butter Mochi recipe for those who want to explore the green tea side of things. But for now, let’s focus on this classic Hawaiian beauty!
The Secret Weapon: Mochiko Flour

The key ingredient in this recipe is mochiko flour (also known as sweet rice flour). Don’t worry; it’s readily available! Most Asian grocery stores and even some major supermarkets carry it. Koda Farms is a popular brand, and trust us, it’ll become your BFF when it comes to all things mochi.Learn more about mochiko flour here.
Pro Tip: This recipe calls for the whole 16-ounce box of mochiko flour, so don’t be tempted to skimp! It’s what gives the mochi its signature chew.
Speaking of mochi magic, ever craved that delightful chewy texture in ice cream form? We’ve got a Mochi Ice Cream recipe linked here for your future reference. Now, let’s gather our tools and get ready to bake!
Tools of the Trade: What You’ll Need
Baking doesn’t require a fancy kitchen, and this recipe is a prime example. Here’s what you’ll need:
- Measuring cups and spoons (accuracy matters!)
- A trusty baking pan (9×13 inch works perfectly)
- Parchment paper (for easy cleanup, thank you very much!)
- A whisk or electric mixer (whichever you prefer)
See? Easy peasy, lemon squeezy! Now, let’s get down to the fun part: mixing and baking!
Your Step-by-Step Guide to Hawaiian Bliss
Preparation is key! Preheat your oven to 350°F (175°C) and line your baking pan with parchment paper. This will save you a world of frustration later (trust us, we’ve been there!).
Mixing Magic:
- Dry Ingredients Party: In a large bowl, whisk together your mochiko flour, sugar (adjust the amount for your desired sweetness!), baking powder, and a pinch of salt.
- Wet Ingredients Unite!: In a separate bowl, whisk together your milk, eggs, and vanilla extract. You want a smooth, even mixture.
- The Grand Unification: Now comes the fun part! Pour the wet ingredients into the dry ingredients and gently whisk until just combined. Don’t overmix! Remember, a few lumps are okay—they’ll just add to the delightful chewiness.
- Butter Me Up: Here comes the richness! Melt your butter and gently fold it into the batter. You want a smooth, even consistency.
- Coconut Calling: Stir in that glorious canned coconut milk. We’re talking pure Hawaiian magic right here! Discover the health benefits of coconut milk here.
Baking Time!
Pour your batter into your prepared pan and give it a gentle tap on the counter to release any air bubbles. Now, the moment of truth! Pop that beauty into your preheated oven and bake for 35-40 minutes, or until a toothpick inserted into the center comes out clean.
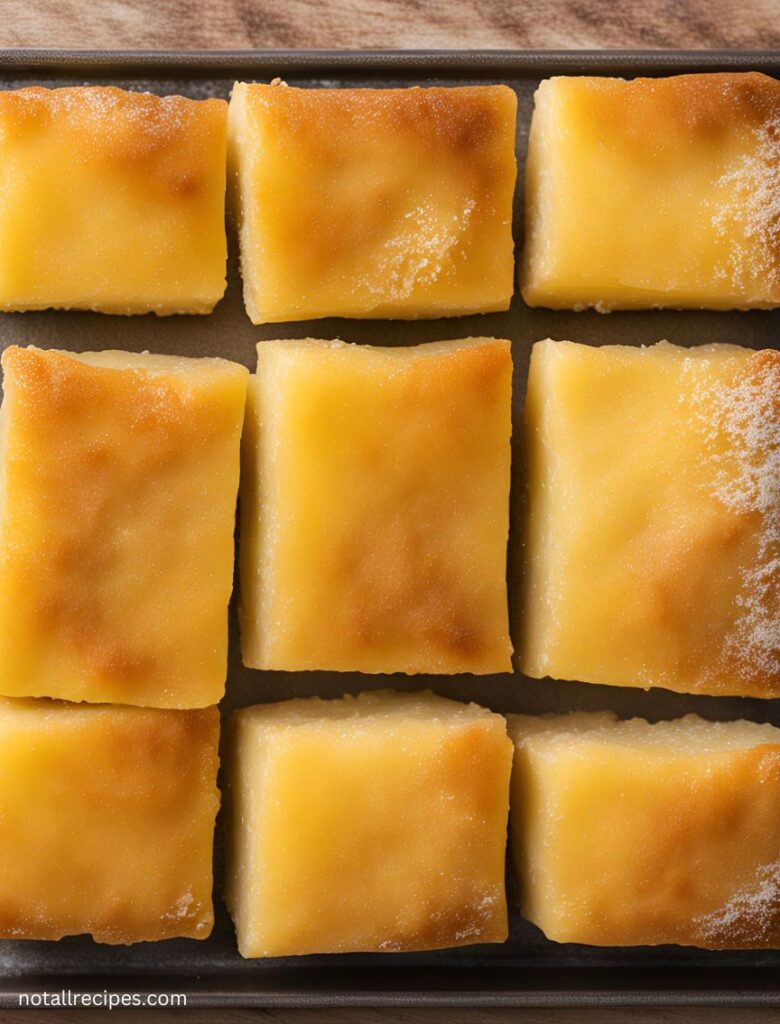
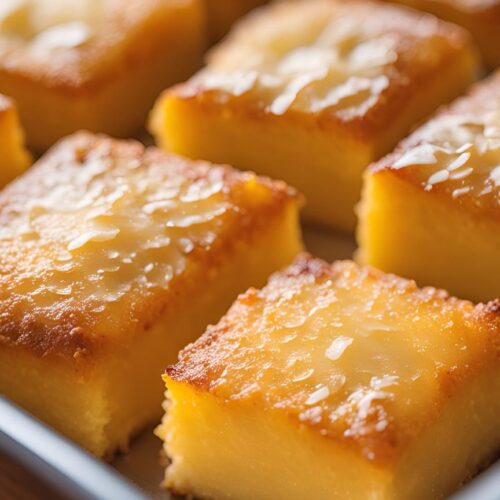
Let your mochi cool completely in the pan before transferring it to a cutting board. Once cool, slice it into squares or rectangles. Serve warm or cold—it’s delicious either way!
Pro Chef Tips for the Best Butter Mochi

- Don’t Overmix: Overmixing can lead to a tough texture. Just mix until the ingredients are combined, and a few lumps are okay!
- Coconut Milk Magic: Coconut milk adds delightful flavor and moisture to the mochi. Don’t skip it!
- Customize to Your Taste: Want a less sweet mochi? Reduce the sugar. Craving a stronger coconut flavor? Add more coconut milk. The possibilities are endless!
Storing Leftovers
If you have leftovers (which we doubt!), store them in an airtight container in the refrigerator for up to 3 days. They’ll stay soft and chewy, but for a warm and gooey experience, reheat them in the microwave for a quick blast.
Delicious Variations to Try
- Matcha Madness: Add a scoop of matcha powder to the batter for a green tea-flavored delight.
- Chocolate Heaven: Fold in chopped chocolate chips or melted chocolate for a rich and decadent treat.
- Mango Mania: Add a splash of mango puree to the batter for a tropical twist.
Frequently Asked Questions
- Can I make this recipe vegan? Absolutely! Use vegan butter and a vegan egg replacer.
- What if my mochi is too sticky? It’s possible that you overmixed the batter. Try baking it for a few more minutes to see if it firms up.
- Can I freeze butter mochi? Yes, you can! Freeze individual slices in an airtight container for up to 3 months. Thaw them overnight in the refrigerator.
Related Recipes to Explore
- Matcha Butter Mochi – For a green tea twist.
- Mochi Donuts – A fun and trendy treat.
- Chocolate Mochi Ice Cream – A classic favorite.
- Chewy Mochi Brownies – A fudgy and chewy delight.
Conclusion
Hawaiian Butter Mochi is a delightful and easy-to-make dessert perfect for any occasion. With its unique texture and rich flavor, it’s sure to become a family favorite. So, what are you waiting for? Grab your ingredients and get baking!
Subscribe for More Recipes!
Want to stay up-to-date on the latest and greatest recipes? Subscribe to our newsletter and be the first to know about new additions to our recipe library.
We Want to Hear From You!
We’d love to hear from you! Share your thoughts, experiences, and any questions you may have in the comments section below.
Recap Of The Recipe

Hawaiian Butter Mochi
Equipment
- Measuring cups and spoons (accuracy matters!)
- A trusty baking pan (9×13 inch works perfectly)
- Parchment paper (for easy cleanup, thank you very much!)
- A whisk or electric mixer (whichever you prefer)
Ingredients
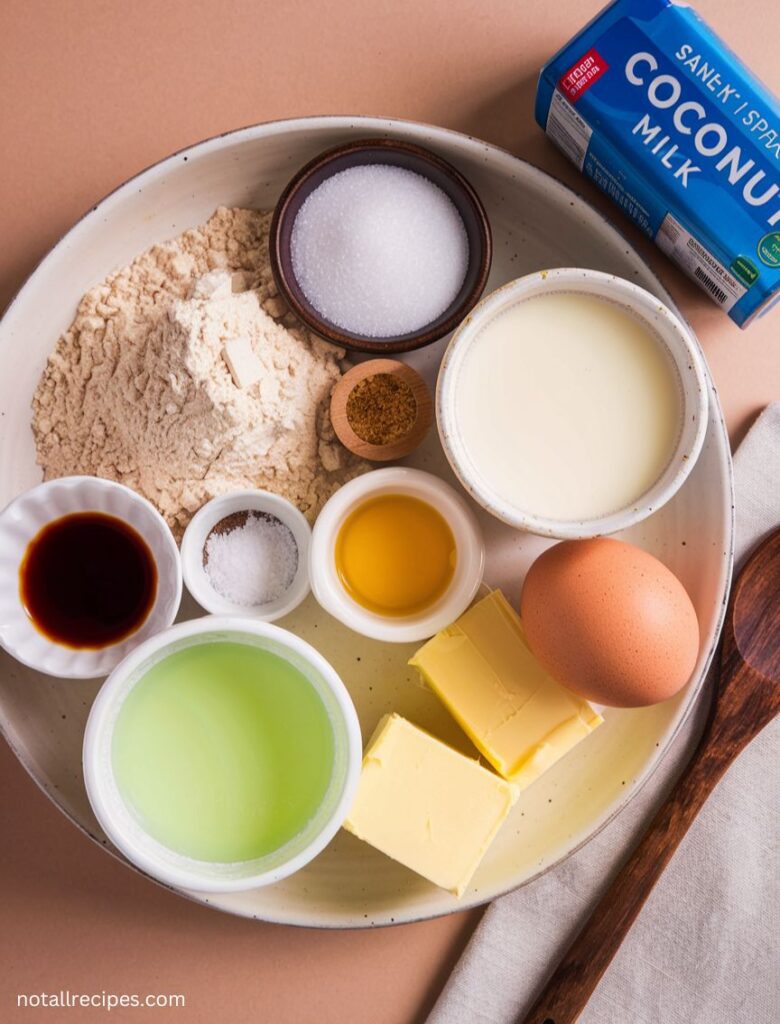
- 16 oz mochiko flour
- 1 cup sugar adjust for sweetness
- 1 tsp baking powder
- ½ tsp salt
- 1 cup milk
- 2 large eggs
- 1 tsp vanilla extract
- ½ cup melted butter
- 1 cup canned coconut milk
Instructions
- Preheat the Oven: Set your oven to 350°F (175°C) and prepare a 9×13 inch baking pan with parchment paper.
- Mix Dry Ingredients: In a bowl, whisk together mochiko flour, sugar, baking powder, and salt.
- Combine Wet Ingredients: In another bowl, whisk together milk, eggs, and vanilla extract.
- Combine Mixtures: Pour the wet ingredients into the dry ingredients, mixing until just combined. Avoid overmixing.
- Add Butter and Coconut Milk: Fold in melted butter and coconut milk until smooth.
- Bake: Pour the batter into the prepared pan and bake for 35-40 minutes, or until a toothpick comes out clean.
- Cool and Serve: Allow the mochi to cool completely before cutting into squares. Enjoy warm or cold!
Notes
- Mochiko Flour: Ensure you use mochiko flour (sweet rice flour) for the authentic chewy texture. Regular rice flour will not yield the same results.
- Adjusting Sweetness: Feel free to adjust the sugar in the recipe to match your taste preferences. Start with the recommended amount and tweak it as needed.
- Coconut Milk: For a more intense coconut flavor, consider using full-fat coconut milk. This will add richness and moisture to your mochi.
- Mixing Technique: Be careful not to overmix the batter. A few lumps are perfectly fine, and overmixing can lead to a tougher texture.
- Baking Time: Ovens can vary, so keep an eye on your mochi during the last few minutes of baking. Check for doneness by inserting a toothpick; it should come out clean when the mochi is ready.
- Cooling Time: Allow the mochi to cool completely in the pan before slicing. This helps it firm up and makes cutting easier.
- Storage: Store leftovers in an airtight container in the refrigerator for up to 3 days. For the best experience, reheat in the microwave before serving.
- Freezing: You can freeze individual slices of butter mochi for up to 3 months. Thaw in the refrigerator overnight before enjoying.
- Variations: Experiment with flavors! Adding matcha, chocolate, or fruit purees can create unique versions of this classic dessert.

