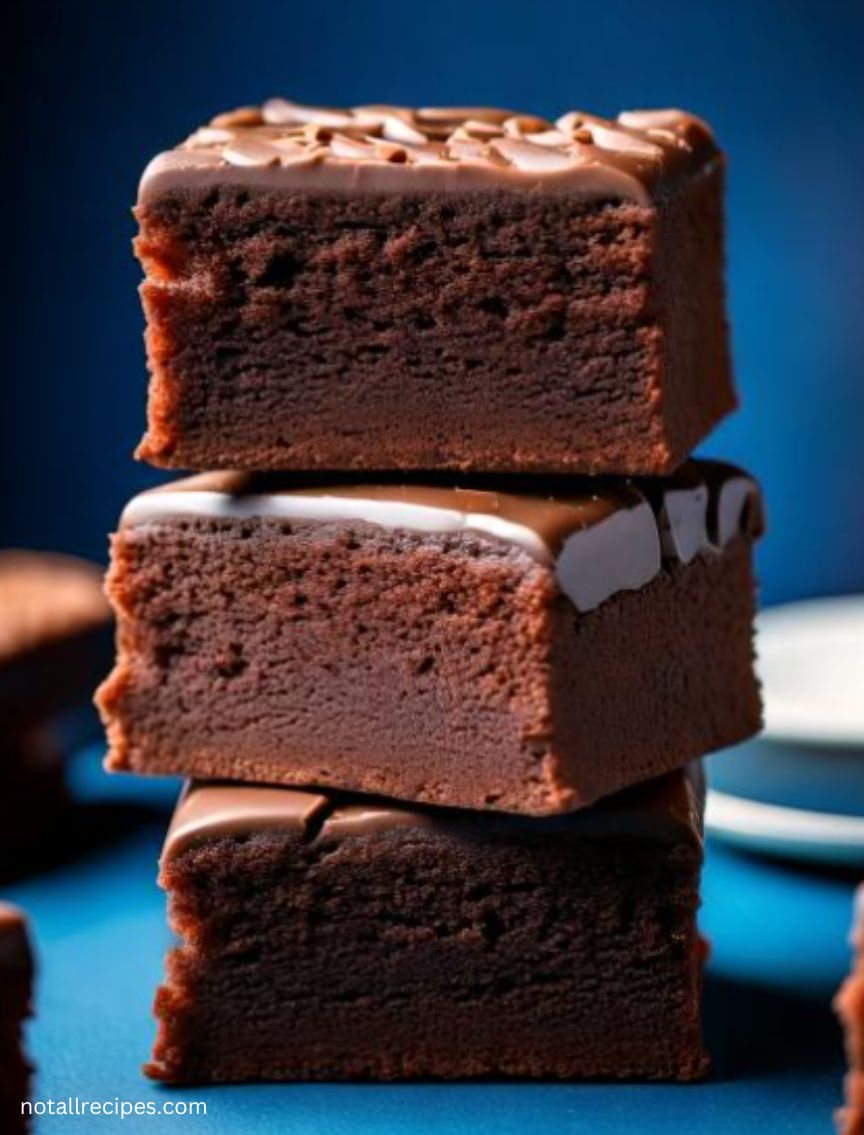
Chewy Mochi Brownies Recipe – Your New Favorite Gluten-Free Treat
Hey there, fellow food lovers! If you’re on the hunt for a dessert that’s both unique and delicious, you’re in for a treat. These Chewy Mochi Brownies blend the rich, fudgy goodness of classic brownies with the delightful chewiness of mochi. They’re made with gluten-free mochiko rice flour, making them not just tasty but also suitable for those avoiding gluten. Trust me, these brownies will become a staple in your kitchen!
What Are Mochi Brownies?
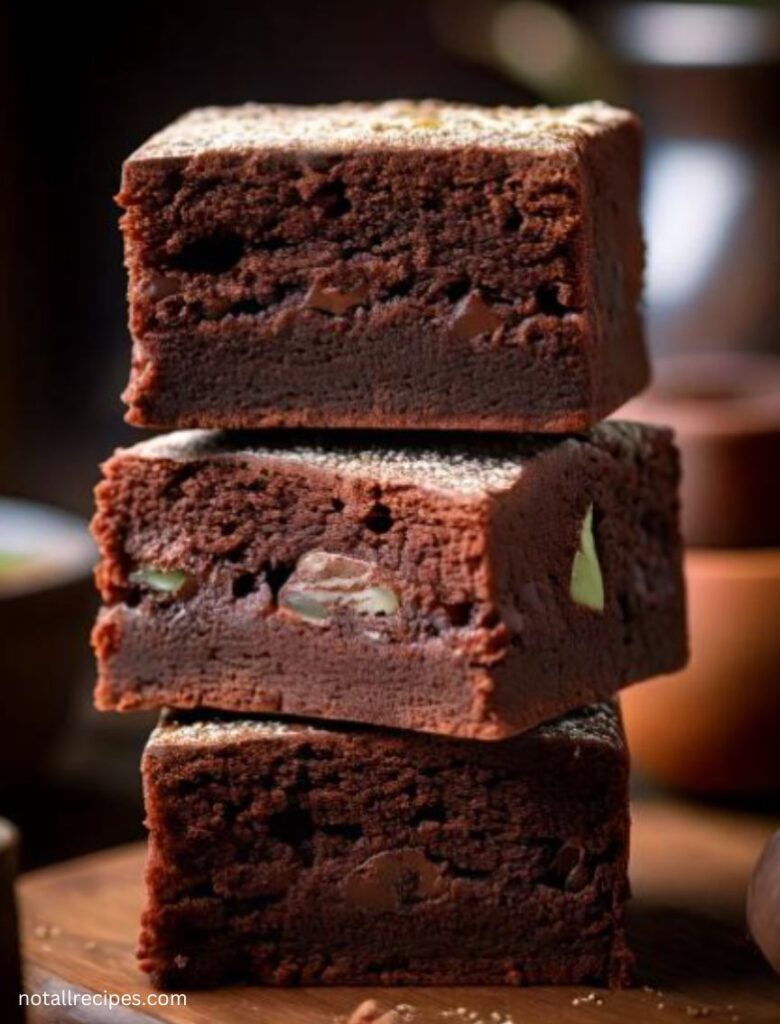
Mochi Brownies are a delightful mix of chocolate brownies and Hawaiian butter mochi. Imagine biting into a brownie that has that signature chewy texture—it’s pure bliss! Thanks to the mochiko flour, these brownies are gluten-free and satisfy those sweet cravings while being uniquely delicious.
Why You’ll Love This Mochi Brownie Recipe
- Gluten-Free Goodness: Perfect for anyone avoiding gluten, thanks to the magical mochiko flour.
- Fudgy and Chewy: The combo of chocolate and mochiko creates a texture that’s wonderfully fudgy yet chewy.
- Crispy Edges with a Crackly Top: Just like traditional brownies, they have those coveted crispy edges and a glossy crackly surface.
- Super Easy to Make: With just a handful of ingredients, you can whip these up in no time!
Ingredients You’ll Need
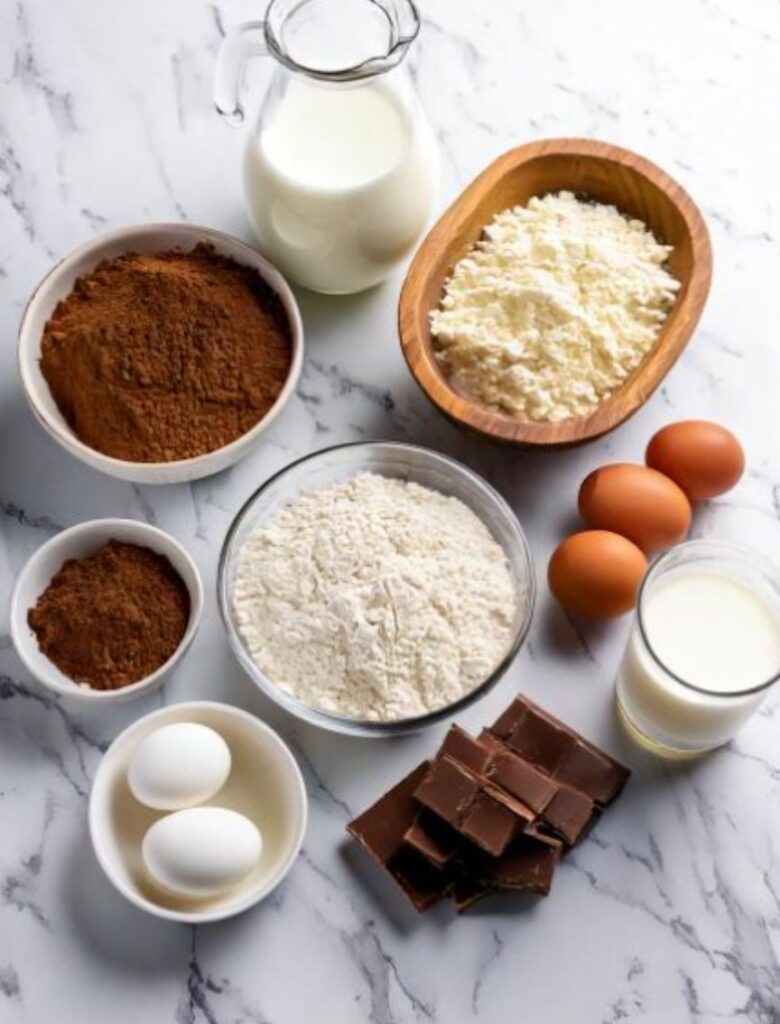
To make these Chewy Mochi Brownies, gather the following ingredients:
- 1 cup mochiko flour (sweet rice flour).Learn more about mochiko flour here.
- ½ cup unsweetened cocoa powder
- 1 cup granulated white sugar
- 1 ½ tsp baking powder
- 5 tbsp unsalted butter, melted
- 2 large eggs
- 12 oz whole milk (or your favorite dairy-free alternative)
- 1 tsp vanilla extract
- 3 tbsp chopped dark chocolate (optional, for extra chocolatey goodness)
Pro Tip: Always use mochiko flour for that chewy texture. Regular rice flour just won’t do!
Step-by-Step Instructions
Ready to get baking? Follow these simple steps to make your very own gluten-free Mochi Brownies:
- Preheat your oven to 350°F (175°C) and line an 8×8-inch baking pan with parchment paper.
- Mix dry ingredients: In a medium bowl, whisk together the mochiko flour, cocoa powder, sugar, and baking powder until well combined.
- Mix wet ingredients: In a large bowl, whisk together the melted butter, eggs, milk, and vanilla extract until smooth.
- Combine: Add the dry ingredients to the wet ingredients, mixing until evenly blended.
- Pour the batter into the prepared baking pan. If you’re feeling extra, sprinkle the chopped dark chocolate over the top for a little added richness.
- Bake for 60-70 minutes, or until the mochi brownies are set. A toothpick inserted into the center should come out mostly clean.
- Cool completely before slicing into squares. This step is crucial for getting clean cuts!
What Makes Mochiko Flour Special?
The magic ingredient in these Mochi Brownies is mochiko flour. This sweet rice flour comes from glutinous rice and is essential for creating that sticky, chewy texture we all love in mochi desserts. It’s the same flour used in our Chocolate Mochi Ice-Cream and classic butter mochi. Make sure you grab mochiko flour for this recipe, as regular rice flour won’t give you that wonderful chewiness!
Expert Tips for Perfect Mochi Brownies
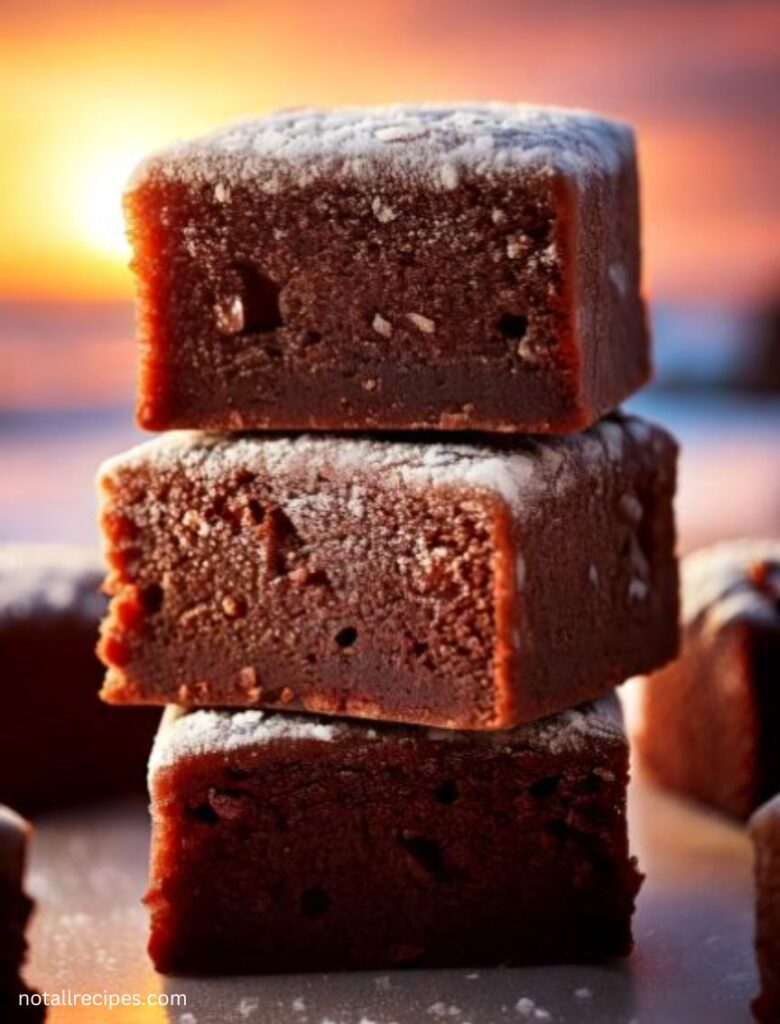
- Use parchment paper: This will make it so much easier to lift the brownies out of the pan and prevent sticking.
- Let them cool completely: I know it’s tempting, but letting them cool is key to getting nice, clean slices.
- Customize the flavor: Add matcha powder for a unique twist or nuts for extra crunch. The possibilities are endless!
- Storage: Keep any leftovers in a sealed container at room temperature for up to 2-3 days, or freeze for longer storage.
Frequently Asked Questions
Can I make Mochi Brownies dairy-free?
Absolutely! You can swap the butter with coconut oil or ghee and use almond or coconut milk instead of whole milk.
Can I use regular rice flour?
Nope! It’s important to use mochiko (sweet rice flour) for this recipe; otherwise, you won’t get that chewy texture.
How do I cut Mochi Brownies cleanly?
Make sure to let the brownies cool completely before cutting. Use a sharp knife and wipe it clean between cuts for the best results.
Cost Breakdown Table
| Ingredient | Cost |
|---|---|
| Mochiko flour (1 cup) | $2.50 |
| Cocoa powder (½ cup) | $1.00 |
| Granulated sugar (1 cup) | $0.50 |
| Baking powder (1 ½ tsp) | $0.10 |
| Unsalted butter (5 tbsp) | $0.75 |
| Eggs (2 large) | $0.50 |
| Whole milk (12 oz) | $0.75 |
| Vanilla extract (1 tsp) | $0.25 |
| Dark chocolate (optional) | $1.50 |
| Total Cost | $8.85 |
Nutrition Information
(Per serving, makes 12 servings)
| Nutrient | Amount |
|---|---|
| Calories | 150 kcal |
| Total Fat | 7 g |
| Saturated Fat | 4 g |
| Cholesterol | 30 mg |
| Sodium | 90 mg |
| Total Carbohydrates | 20 g |
| Dietary Fiber | 1 g |
| Sugars | 8 g |
| Protein | 2 g |
Note: Nutrition information is an estimate and can vary based on ingredients used.
Related Recipes to Try
If you loved these Mochi Brownies, here are a few more gluten-free and mochi-inspired recipes you might enjoy:
Conclusion: Why Mochi Brownies Are a Must-Try
These Chewy Mochi Brownies are a delightful blend of chocolatey, fudgy goodness with the unique chewy texture of mochi. Not only are they naturally gluten-free, but they’re also incredibly easy to make and sure to impress anyone with a sweet tooth. Don’t forget to try our other delicious recipes, like The Best Hawaiian Butter Mochi Recipe and The Best Mochi Donuts Recipe, for even more mochi magic!
Recap Of The Recipe
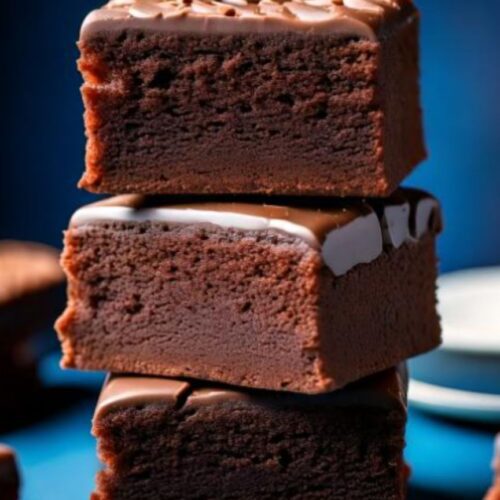
Mochi Brownies
Equipment
- 8×8-inch Baking Pan: For baking the brownies.
- Parchment Paper: To line the baking pan for easy removal and cleanup.
- Mixing Bowls: One medium bowl for dry ingredients and one large bowl for wet ingredients.
- Whisk: For mixing the ingredients thoroughly.
- Measuring Cups: For accurate measurement of dry and liquid ingredients.
- Measuring Spoons: For measuring small quantities, such as baking powder and vanilla extract.
- Spatula or Wooden Spoon: For combining the wet and dry ingredients.
- Toothpick or Cake Tester: To check if the brownies are done baking.
- Cooling Rack: To cool the brownies completely before slicing.
Ingredients
- 1 cup mochiko flour sweet rice flour
- ½ cup unsweetened cocoa powder
- 1 cup granulated white sugar
- 1 ½ tsp baking powder
- 5 tbsp unsalted butter melted
- 2 large eggs
- 12 oz whole milk or your preferred dairy-free alternative
- 1 tsp vanilla extract
- 3 tbsp chopped dark chocolate optional, for extra chocolatey goodness
Instructions
- Preheat the Oven: Preheat your oven to 350°F (175°C). Line an 8×8-inch baking pan with parchment paper for easy removal.
- Mix Dry Ingredients: In a medium bowl, whisk together the mochiko flour, cocoa powder, granulated sugar, and baking powder until well combined.
- Mix Wet Ingredients: In a large bowl, combine the melted butter, eggs, milk, and vanilla extract. Whisk until smooth and there are no egg streaks.
- Combine Ingredients: Gradually add the dry ingredient mixture to the wet ingredients. Mix until everything is evenly blended and there are no lumps.
- Pour Batter: Pour the brownie batter into the prepared baking pan. If desired, sprinkle the chopped dark chocolate on top for added richness.
- Bake: Bake in the preheated oven for 60-70 minutes, or until the brownies are set. A toothpick inserted into the center should come out mostly clean.
- Cool Completely: Once baked, remove the brownies from the oven and let them cool completely in the pan before slicing into squares. This step is crucial for achieving clean cuts.
- Serve and Enjoy: Once cooled, slice the brownies and enjoy your delicious Chewy Mochi Brownies!
Notes
- Mochiko Flour: Make sure to use mochiko flour (sweet rice flour), as it is essential for achieving the chewy texture of the brownies. Do not substitute it with regular rice flour or other flours.
- Cocoa Powder: You can use either natural or Dutch-process cocoa powder. I recommend Dutch-process for a richer flavor.
- Milk Substitutes: If you’re looking for a dairy-free option, you can replace whole milk with almond milk, oat milk, or any other milk substitute. Just be aware that different milks may alter the richness of the brownies.
- Cooling Time: It’s important to let the brownies cool completely before cutting them. If you slice them while still warm, the sticky interior may stick to the knife, making it difficult to get clean cuts.
- Storage: Uneaten brownies can be stored in a sealed container at room temperature for 2-3 days. You can also refrigerate them to extend their shelf life.
- Customization: Feel free to add nuts, chocolate chips, or other mix-ins to the batter for extra flavor and texture!
